Difference between revisions of "Change Status"
From MyFacilityFitPro_Wiki
(→Creating Change Status) (Tag: VisualEditor) |
(→Creating Change Status) |
||
| Line 3: | Line 3: | ||
|- style="vertical-align:top;" | |- style="vertical-align:top;" | ||
|<big>'''<font size="5">1</font>'''</big> | |<big>'''<font size="5">1</font>'''</big> | ||
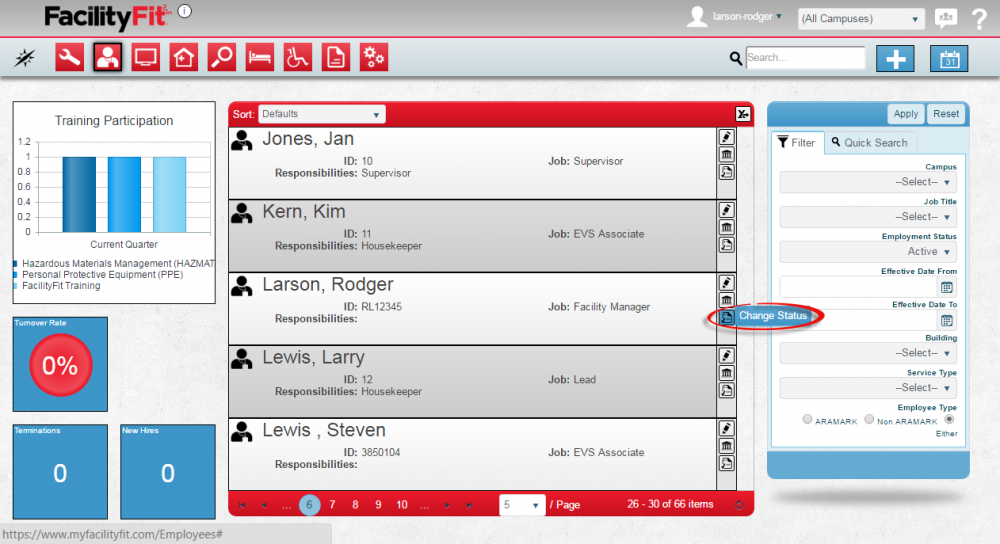
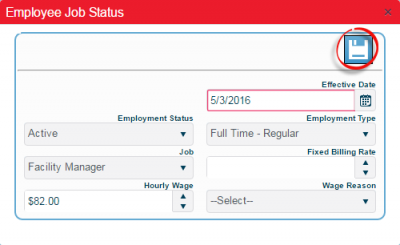
| − | |Click the '''Change Status''' button to open the Employee Job Status window. | + | |Click the '''Change Status''' button [[File:EditStatus.png]] to open the Employee Job Status window. |
[[File:Employee-ChangeStatus1.png|1000x1000px]] | [[File:Employee-ChangeStatus1.png|1000x1000px]] | ||

