From MyFacilityFitPro_Wiki
Update Status of Work Request
| 1
|
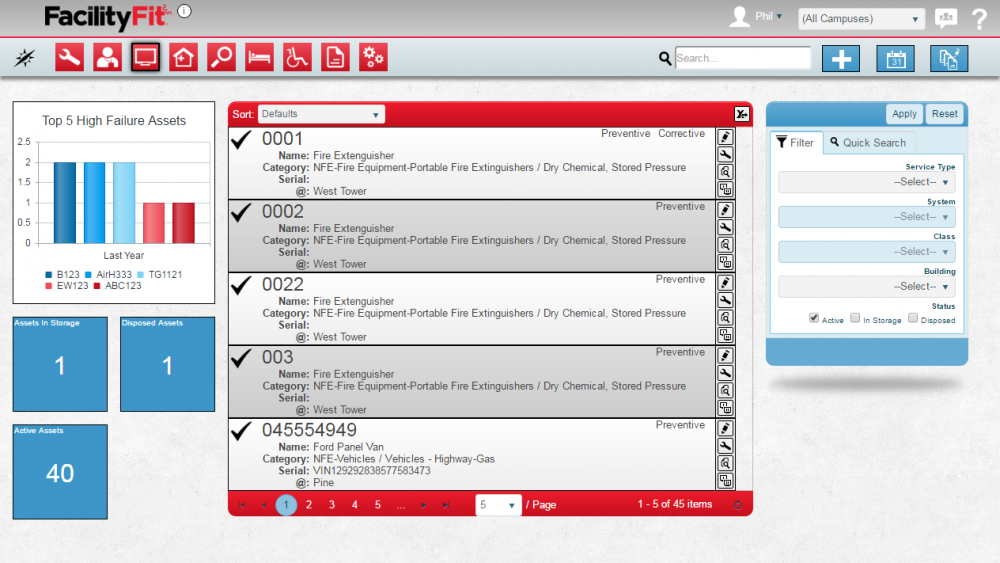
Click Asset button  to open the asset landing page. to open the asset landing page.
The Asset Landing page opens.
|
| 2
|
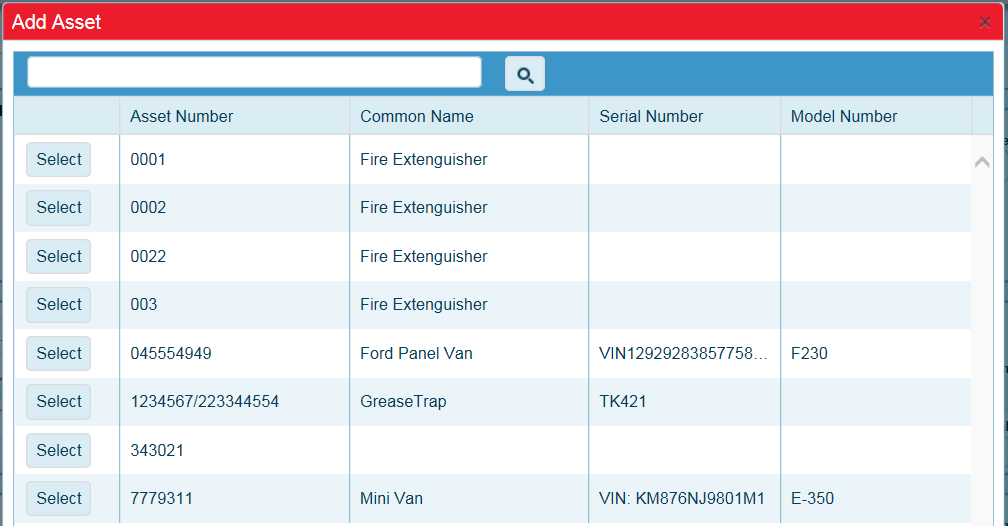
Click the Add button  to open the add asset window. to open the add asset window.
|
| 3
|
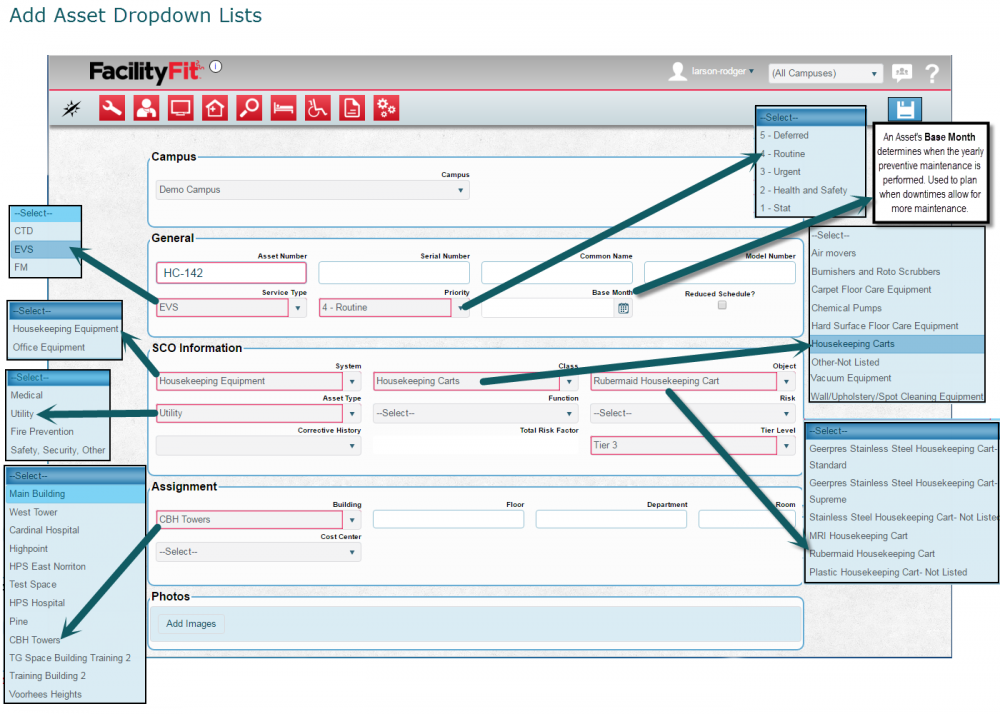
Sections are shown for Campus, General, SCO information, Assignment and Photos.
Note: The dropdown selections are dependent on the selections already made so proceed by section from top to bottom, and left to right
- Campus - Select which Campus this asset is assigned to (optional)
- General - Assign an Asset Number, select a Service Type and assign 1 to 5 as a Priority (required)
- SCO information - (System, Class, Object, Asset Type and Tier are required)
- System (must make General selections first),
- Class (Must select System first),
- Object (Must select Class first),
- Asset Type and
- Tier Level
- Assignment - Select a Building (required)
- Photos - Add Images (Optional)
Required fields are in Red. Click button to open the clone window

|
| 4
|
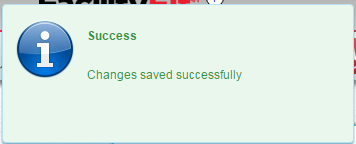
Click Save button  to save the new asset to the system.A Changes Saves pop-up will briefly appear. to save the new asset to the system.A Changes Saves pop-up will briefly appear.

|
Confirm the new Asset
| 1
|
Click Asset button  to open the asset landing page. to open the asset landing page.
The Asset Landing page opens.
|
| 2
|
|
| 2
|
|
| 2
|
|
Click Asset button to open the asset landing page. etLanding.png
AddAssetSelected.png

AssetList.png
 to open the asset landing page.


