Spaces - Navigate to Scheduler -
Spaces - Navigate to Scheduler
| 1
|
Create New Spaces:
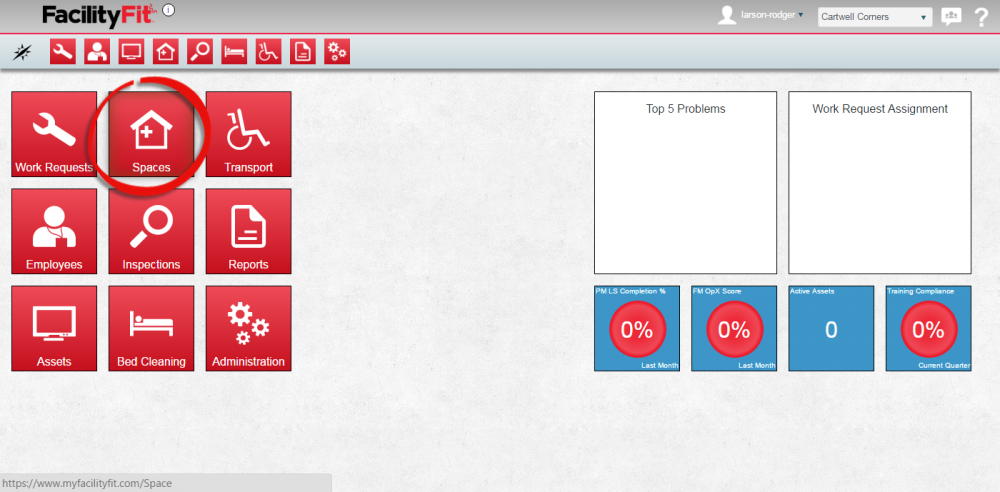
- Click the large Spaces icon to open the Spaces window.


|
| 2
|
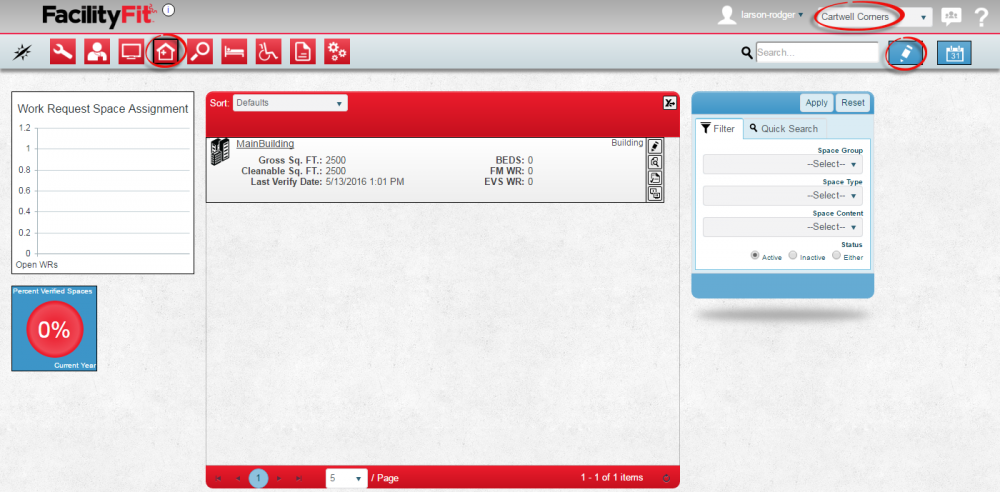
The Spaces home window will appear.
 Select a campus if you have that option.
|
| 3
|
Select 'Scheduling from the Dropdown. 
The Scheduler window will open.
|
| 2
|
See sections for
- Space Info
- Space Attributes
- Comments
- Contents
1000x1000px
|
| 3
|
See the the 7 action buttons in the Space window
 The Save icon. The Save icon.
 The Update Child Spaces icon The Update Child Spaces icon


 The Delete Button The Delete Button
 The Print Button The Print Button
|
| 4
|
Click into the Edit icon to open the XXX window to XXX.
The SubTitle icon on the upper right opens the Log In XXX window.
1000x1000px
|
| 5
|
In the XXX window:
- Click the XXX dropdown to select .
- Select a XXX from the XXX dropdown after
- Click on the space in the XXX column to make the dropdown arrow appear. Select a XXX lfor that area from the dropdown list.
1000x1000px
|
| 6
|
Check that the XXX, the Device (Example: XXX) and the XXX are correct.
1000x1000px
Click the Save button  to complete the new request. to complete the new request.
|
| 7
|
Error messages will advise you if something is wrong. If there are not any error messages the save is a success.
|


