Spaces - Housekeeping Scheduler
A housekeeping schedule (or "schedule") contains all of the necessary information to clean a space within a campus. The schedule will include information on which spaces to clean, which tasks should be done, and how long each task is expected to take. In addition, you may reserve time for non cleaning tasks that will also be counted as productive employee time so that all time is tracked and understood for each employee
Spaces - Creating a Housekeeping Schedule
| 1
|
Create new housekeeping Schedule:
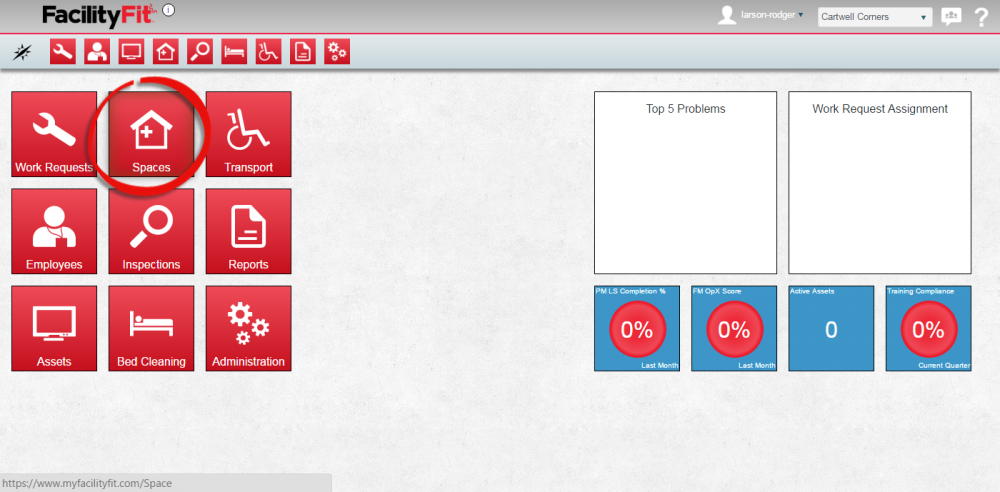
- Click the large Spaces icon to open the Spaces window.

|
| 2
|
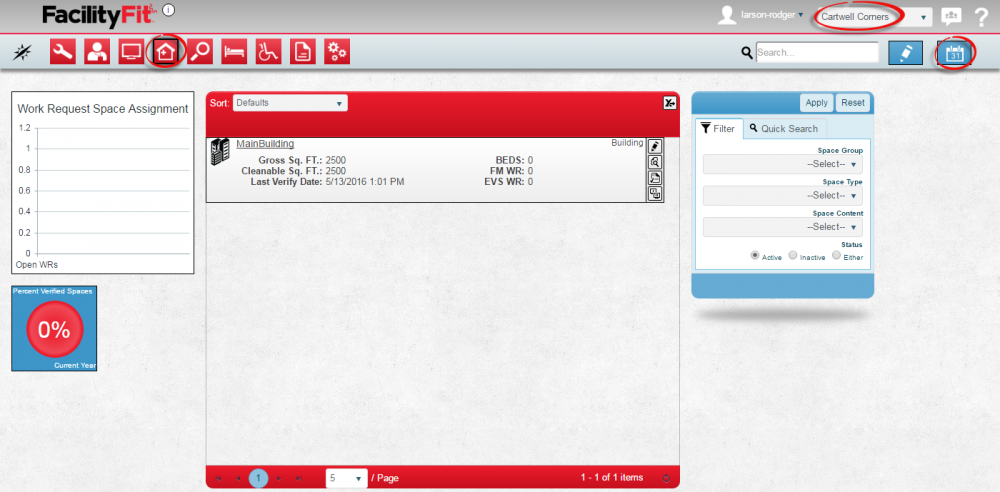
The Spaces home window will appear.
|
| 3
|
Click the Navigate to Scheduler button on the upper right.

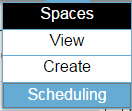
or select Scheduling from the Dropdown.
|
| 4
|
The Scheduler window will open.
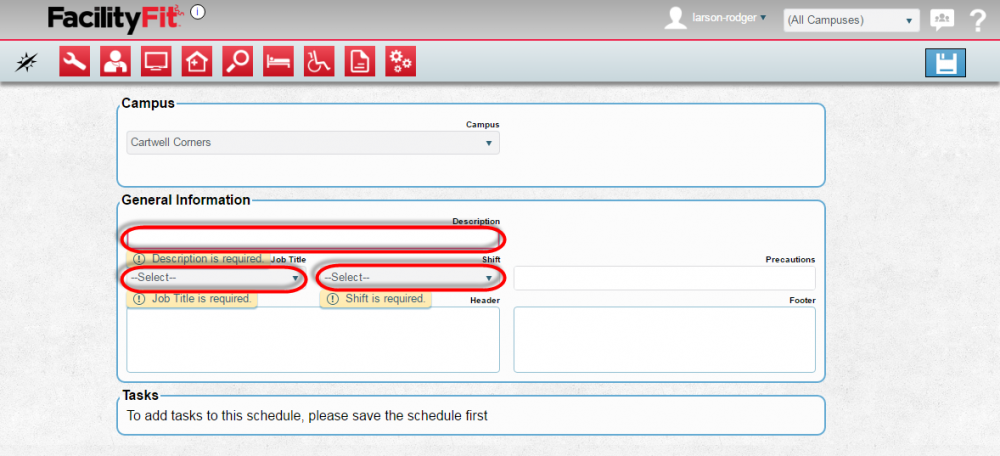 Choose a Campus if required - If you only have access to one Campus, this will not be required.
|
| 5
|
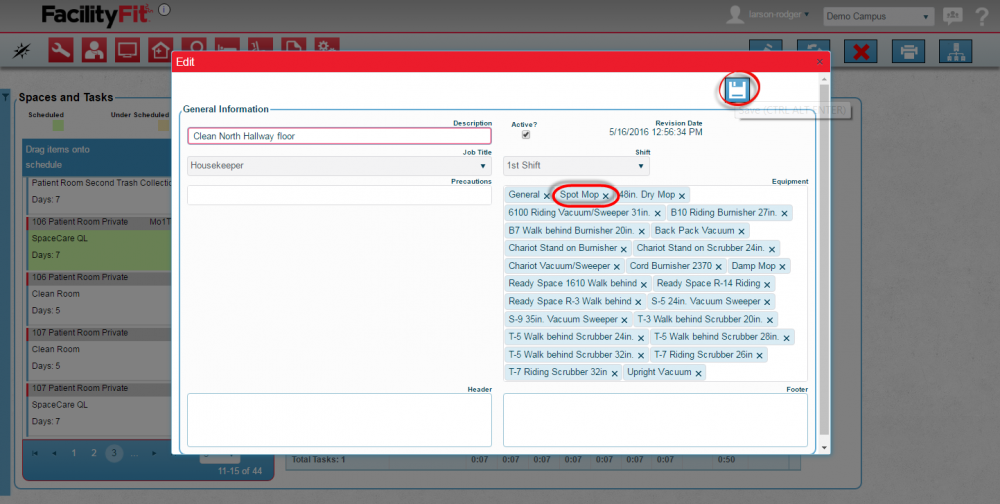
Enter all fields in the General Information section.
Fields with a red outline are required to be entered before you may save the record.
Fields without a red outline are not required but may be helpful.
- Description - The title of the schedule. Must be unique for this campus.
- Job Title - The job title of the person who will normally perform this schedule. Informational only. Does not prevent anyone from performing this schedule.
- Shift - The time of day that this schedule is normally done. Informational only. Does not prevent the schedule from being done at other times.
- Precautions - Important safety information to be used when performing this schedule.
- Header - Information which will appear at the top of this schedule when printed.
- Footer - Information which will appear at the bottom of this schedule when printed.
|
| 6
|
Click Save when done. 
|
Adding Tasks to the Schedule
Setting up Initial Tasks
The initial set up of tasks is done in the Administration area of the system
For more information please see Setting up Housekeeping tasks.
| 1
|
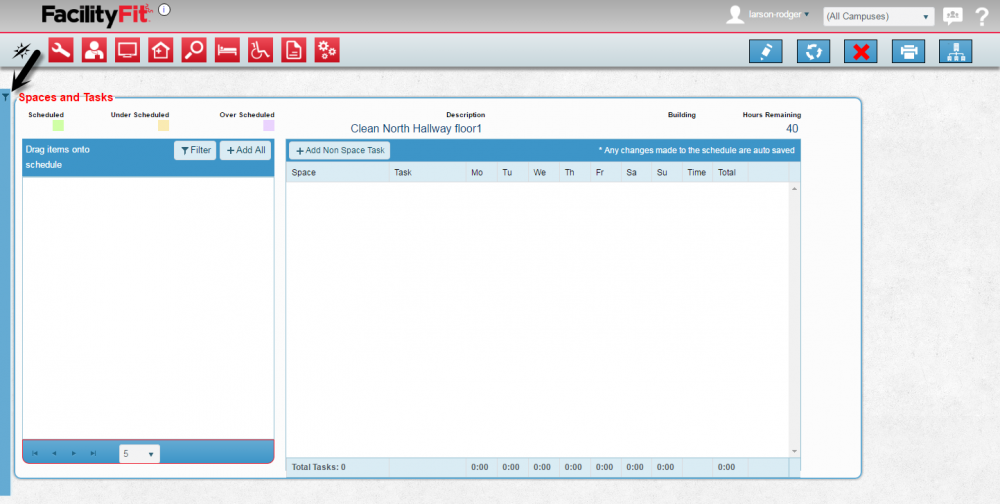
The Spaces and Tasks window will open.
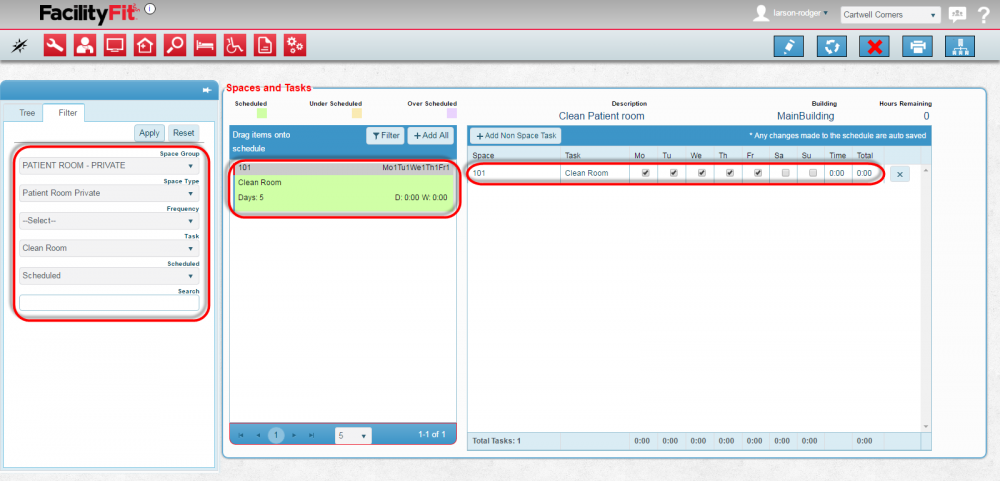
Clicking the Filter button will allow alternate spaces to be selected.
|
| 2
|
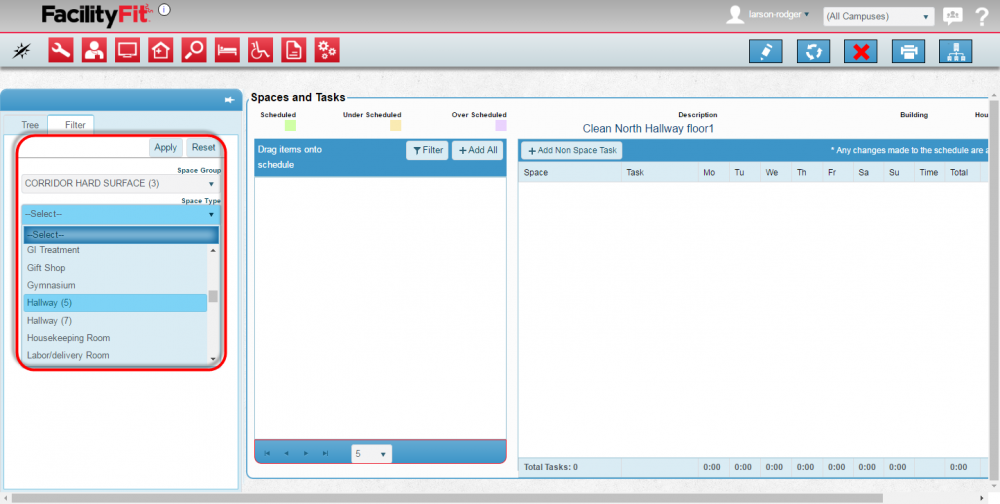
The Filter Window slides out. Enter Filter criteria to limit results. Press Apply when done.
|
Finding Tasks
| 1
|
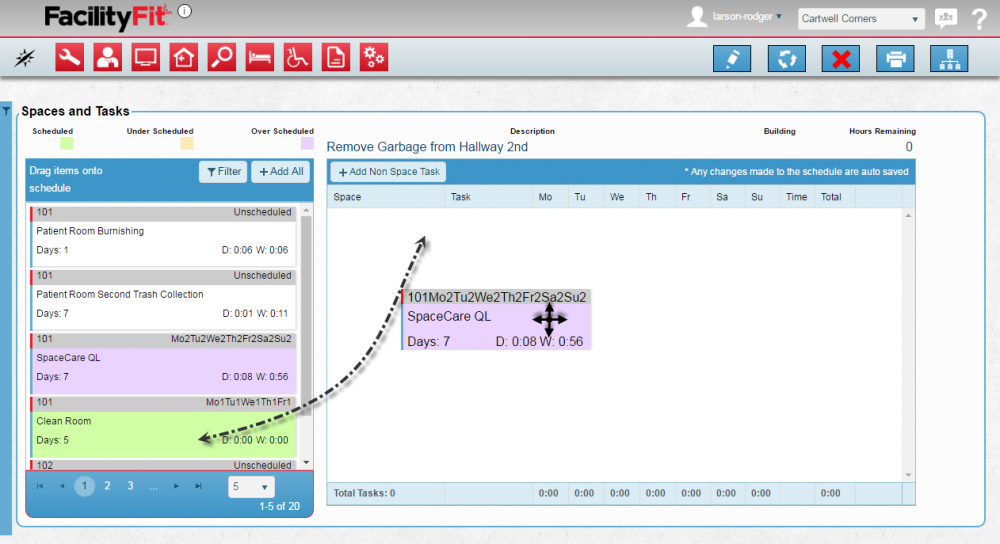
To find the tasks you are looking for, use the list on the left side of the screen
Each task is displayed as:
- The top bar shows the space that this task is for
- The Name of the task is displayed
- The Days value is the number of days that the task should be done to be fully complete
- The D: value is the number of minutes per day that the task will take
- The W: value is the number of minutes per week that the task will take

|
| 2
|
Drag and Drop the task into the scheduler.
|
| 3
|
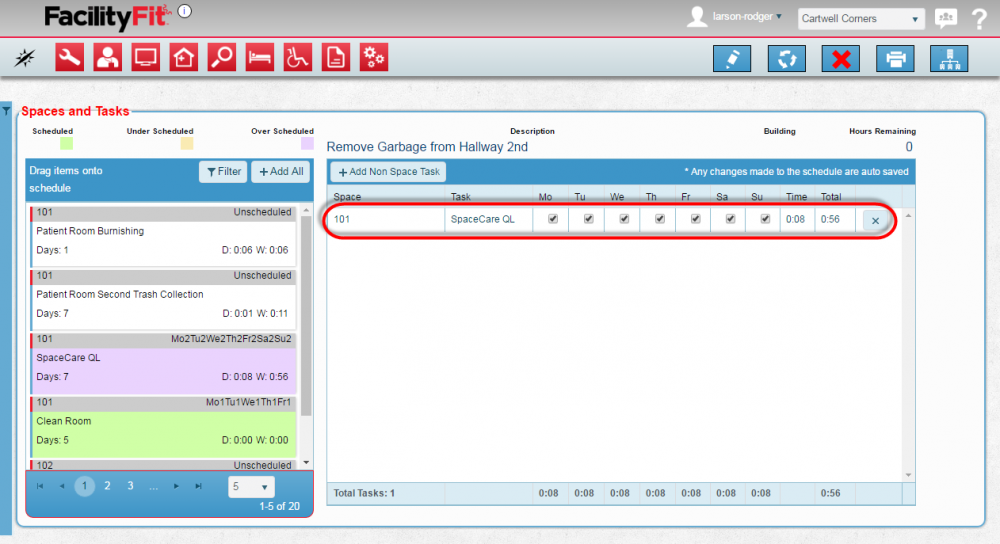
The new task will appear in the Description column.
Click on the check-boxes for the days to be scheduled.
|
| 4
|
Click on the Edit button. The Edit window will open.
Equipment listed is available for the task assigned.
|
| 5
|
Error messages will advise you if something is wrong. If there are not any error messages the save is a success.
Scheduled items appear in light green as shown.
|


