Difference between revisions of "Mass Update Multiple Work Requests"
m (→Mass Update Multiple Work Request) (Tag: VisualEditor) |
(→Mass Update Multiple Work Request) |
||
| Line 17: | Line 17: | ||
|- | |- | ||
| − | |<big>'''<font size="5">3</font>'''</big> | + | | <big>'''<font size="5">3</font>'''</big> |
|Select the filter parameters to find the specific group of work orders to be updated. | |Select the filter parameters to find the specific group of work orders to be updated. | ||
Example: | Example: | ||
| Line 39: | Line 39: | ||
|- | |- | ||
| − | |<big>'''<font size="5">6</font>'''</big> | + | | <big>'''<font size="5">6</font>'''</big> |
|Choose a status on the destination side. | |Choose a status on the destination side. | ||
On the Destination side, press the '''--Select--''' link to open the selection dropdown. One or more of the selections can be chosen.[[File:MassUpdateDestination-Select-Dropdown.PNG|left|thumb|399x399px]] | On the Destination side, press the '''--Select--''' link to open the selection dropdown. One or more of the selections can be chosen.[[File:MassUpdateDestination-Select-Dropdown.PNG|left|thumb|399x399px]] | ||
Revision as of 09:47, 13 April 2016
Mass Update - quickly change a large set of work requests to new data.
Example, the painting contractors have arrived, and you want to change three work orders in a certain building from open to in-progress.
Mass Update Multiple Work Request
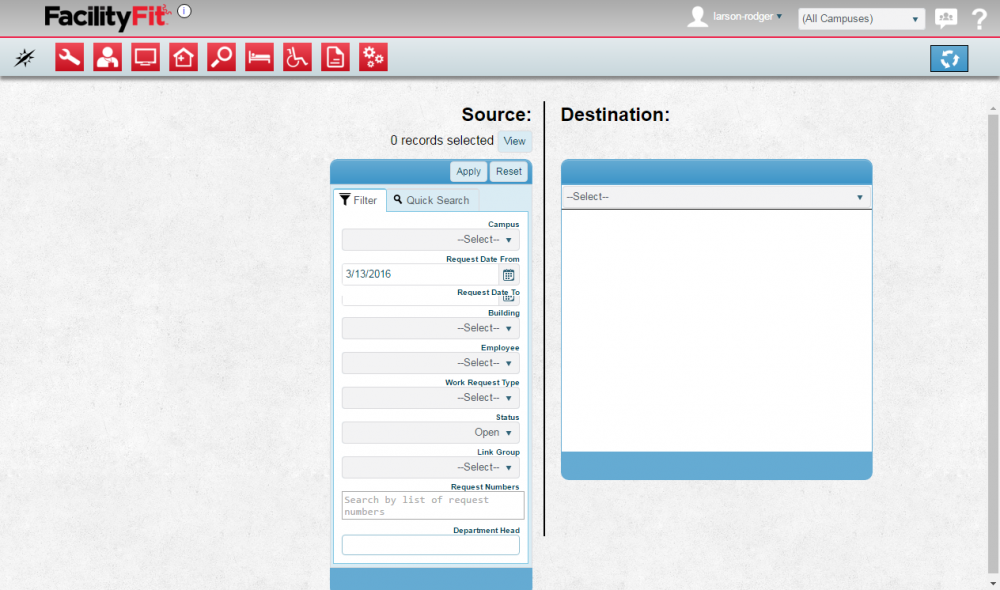
| 1 | Click Work Requests to open the work request window. |
| 2 | Click the Mass Update button.
The Mass Update window opens with a Source side and a Destination side.
|
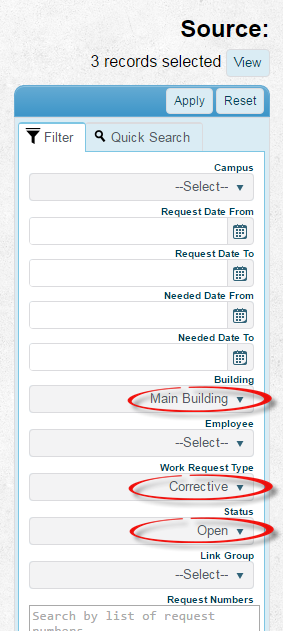
| 3 | Select the filter parameters to find the specific group of work orders to be updated.
Example: To change work requests in the Main Building from an "Open" status to "In Progress" status:
|
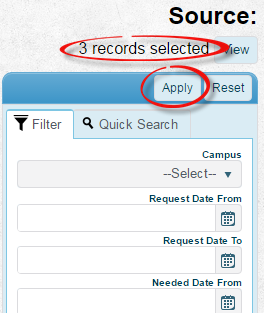
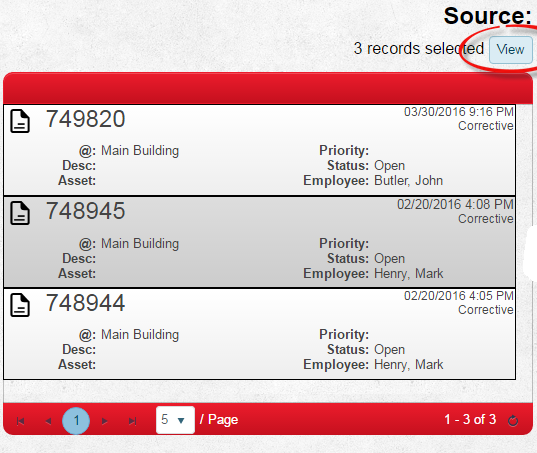
| 4 | Press the Apply button to see results numbers. Click the View button to toggle between the filter and the results. |
| 5 | View the results of the source filtering. |
| 6 | Choose a status on the destination side.
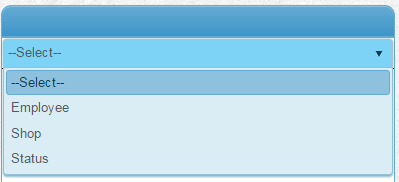
On the Destination side, press the --Select-- link to open the selection dropdown. One or more of the selections can be chosen.
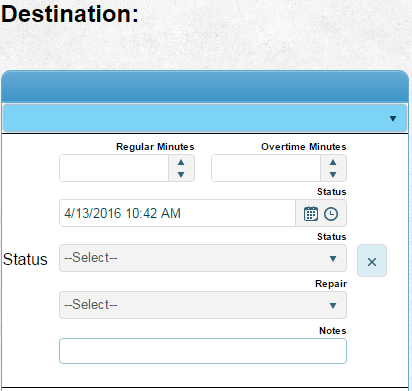
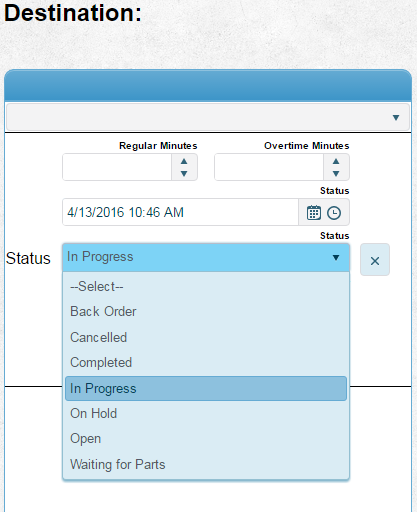
For our example we will choose Status. Choose the new status that will be applied to the selected work orders.
For Example:
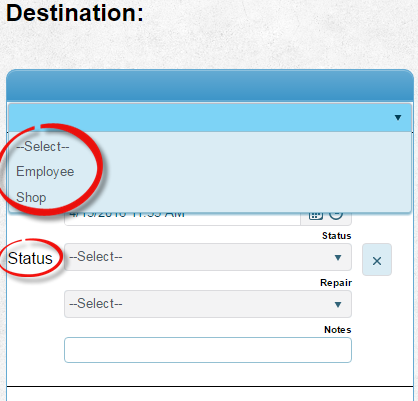
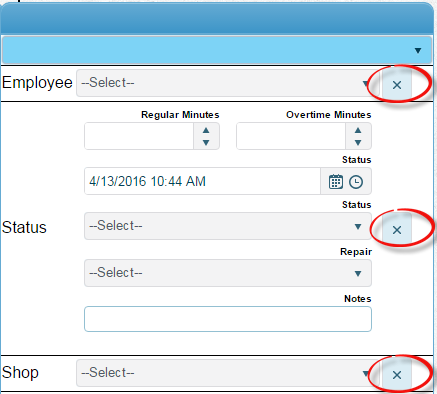
On the Destination side, click on the --Select-- dropdown and choose a "Status" from the list. Alternate SelectionsAlternately, if reassigning Work Requests to another employee, the Employee selection would be chosen. Once one selection is chosen the --Select-- dropdown will only show the other two that haven't been selected. The options allow you to open all three. Each section has a delete button "X" to remove that choice. |
| 7 | Press the Synchronize icon button.
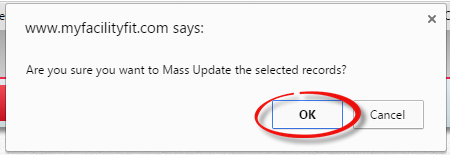
A notice will appear asking: Are you sure you want to Mass Update the selected records? |
| 8 | Press the OK button in the Are you sure you want to Mass Update the selected records? window. |
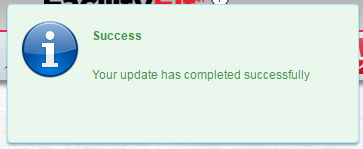
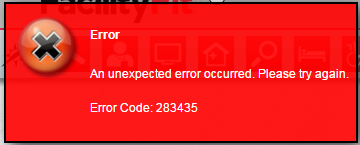
| 9 | Either you get a temporary pop-up saying success or a pop-up saying error.
If you are successful, the selected Work Requests have been updated. If you get this error message, the update was not successful, try again with different parameters. |
