Employee Functional Area
From MyFacilityFitPro_Wiki
Contents
Description
This functional area contains all of the information and actions necessary to manage employees for your facility. From this area, you may create new employees, Change status of existing employees,and manage employee training, and you will also find the appropriate actions for creating meetings.
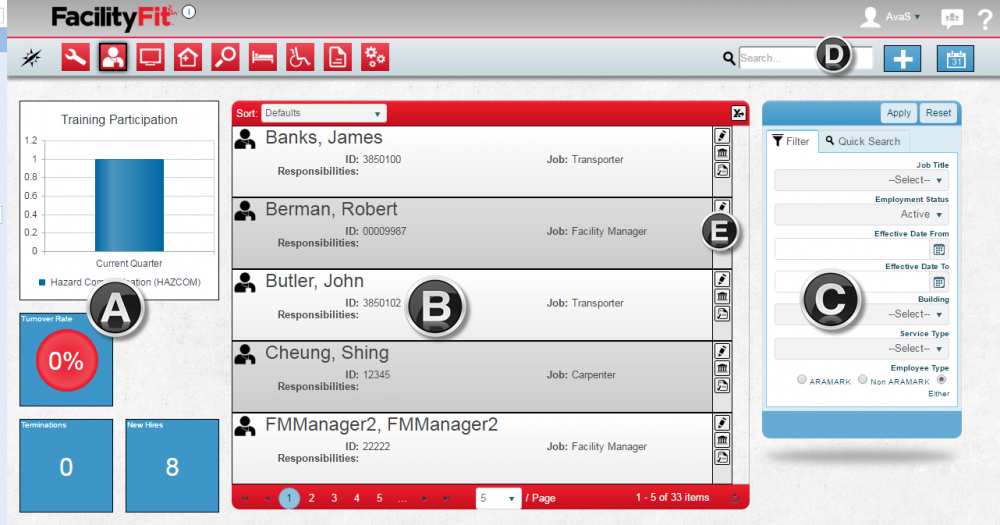
Employees Landing Page
A. Metrics
- Training Participation Rates - The graph will display the following information based on data in the Meetings module:
- Number of attendees per training class completed.
- The default filter will be the current calendar quarter.
- Coaching for Performance - A gauge indicating percentage of “Coaching for Performance” sessions completed in the current month.
- New Employee Rounding - % of of scheduled New Employee Rounding due for the current month
- Thank You Notes - % of Thank you notes sent for the current year.
B. List Display
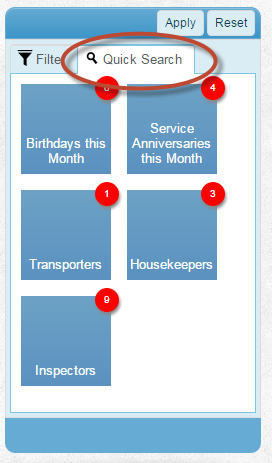
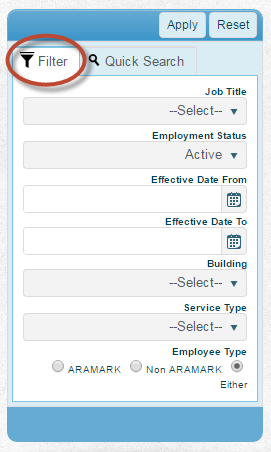
C. Filtering
D. Actions
E. Quick Actions
Step-by-Step Help
Actions
| Help Page | Icon | Description |
|---|---|---|
| Adding Employees and setting up security | From the top right of the screen click the Add icon. | |
| Navigate to Meetings landing page. | From the top right of the screen click the Navigate to Meetings button. |
Quick Actions
| Help Page | Icon | Description |
|---|---|---|
| Edit an Employee | |
Edit - Opens the full details of the employee on a new page and allows you to edit any and all sections and fields of the employee information record. |
| Training | Training - A pop-up window opens that allows you to choose a training course and completion date for the employee. | |
| Change Status | Change Status - A pop-up window opens that allows you to change the Employee Job Status. |
List Display
The list displays the five most recently added employees sorted with the most recent on top. The list displays the following fields:
| Employee Name | |
| ID - Employee ID number | Job - Employee Job Title |
| Responsibilities: Employee responsibilities |
Click the drop-down arrow from the Sort list to select options for sorting the list.
Click the Export to Excel button to export the search results into an Excel Spreadsheet.


